Friday, 11 January 2013

Scrub a dub dub, DIY style!

Happy Friday! Keeping in line with the feel of the day (everyone’s ready to kick back and enjoy the weekend!), I thought I’d feature something fun you can do over the weekend if you like. :)
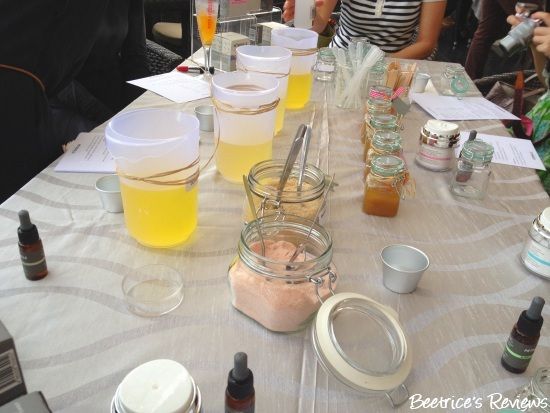
A few months back, I had visited a Petronille booth at one of the Bellabox events, and one of the activities they had prepared for us was making your own salt or sugar scrub. It was a simple but fun activity, but also a nice way to make your own scrubs if you want to know exactly what’s in it or want a custom blend for your personal use or to give as gifts.

For approximately 40g of scrub, you’ll need the following:
  • Salt/ Sugar – 1 ½ cup
  • Oil – 1 cup
  • Honey, coconut or cocoa powder (optional) – 1 tsp
  • Pure essential oil – 3-4 drops
  • Glass jar
  • Rubbing alcohol (to disinfect the jar)
  • Mixing spoon


There were a variety of options available for mixing, but really, the combinations are almost limitless depending on your skin type and preference for scents:
  • If you want a stronger scrub, try Himalayan salt. For those with more sensitive skin, you may want to opt for brown sugar.
  • You can choose between any non-scented or mildly-scented oil for this – at the time, the option was sweet almond oil or olive oil so I picked sweet almond.
  • In order to make the scrub more moisturising, you can opt to include a teaspoon of honey, coconut or cocoa powder although this is optional.
  • You can use any pure essential oil to scent your scrub – lavender for relaxing, tea tree for anti-bacterial, ginger to boost circulation…the list goes on and on!


The steps to making your own scrub are easy enough…if a noob like me can make it, anyone can! :D
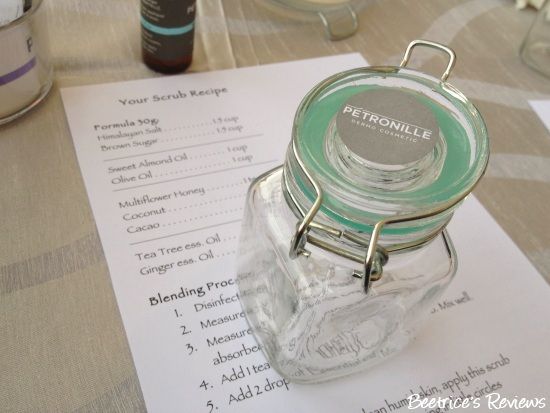
1. Disinfect the glass jar with alcohol (important, as this will minimise the chances of your scrub going mouldy - the ingredients are natural after all, with no added preservatives)
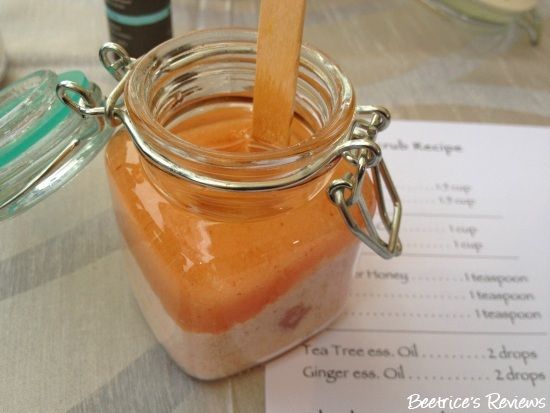
2. Measure and pour in your salt or sugar into the bottom, then pour in your choice of oil on top. Please don’t do it the other way around, as you’ll have a problem trying to stir the grains into the oil and you'll get salt/ sugar everywhere (trust me on this, we saw this happen) Stir well to mix.
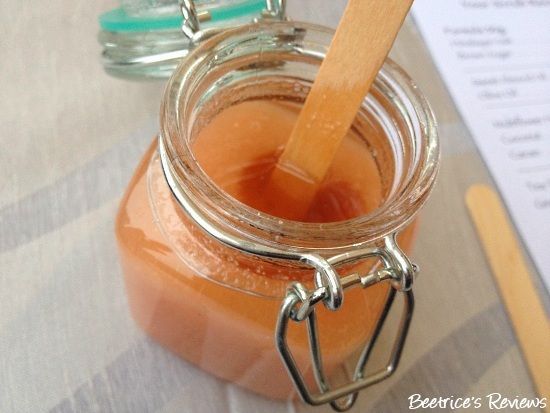
3. Once you have a nice blend of salt/sugar and oil, add in your honey (optional) and mix well. You should end up with a nice paste at the bottom while still having a layer of oil on top.
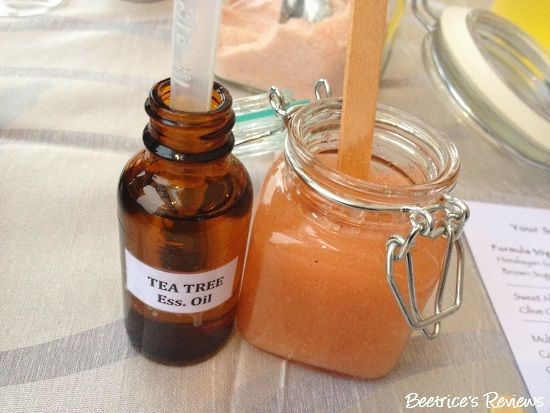
4. Last but not least, add 4-5 drops of pure essential oil to your scrub, and you’re done! Easy peasy, right? Depending on the essential oil you use though, your scrub may be stronger or milder smelling - just add a few more or less drops depending on your preference.
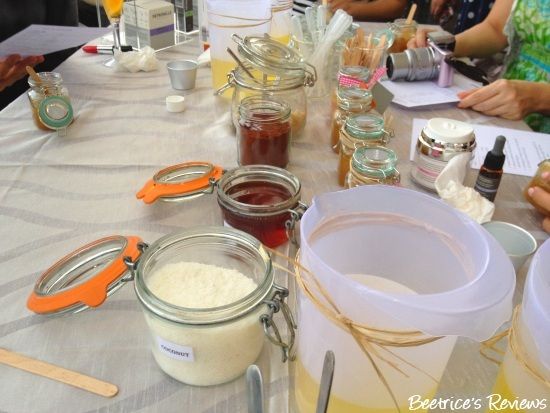
At this point, everyone was going “Does mine smell nice? Is it strong enough? Maybe I should add more essential oil…”

If you’re giving them away as gifts, don’t forget to tie a pretty ribbon around the jar (or in my case, strands of straw rope – since I’m kooky that way!), make a pretty tag and stick a small spoon for scooping out your scrub. These scrubs will last you a good 2-3 months, but I wouldn’t suggest keeping it beyond that…just in case!
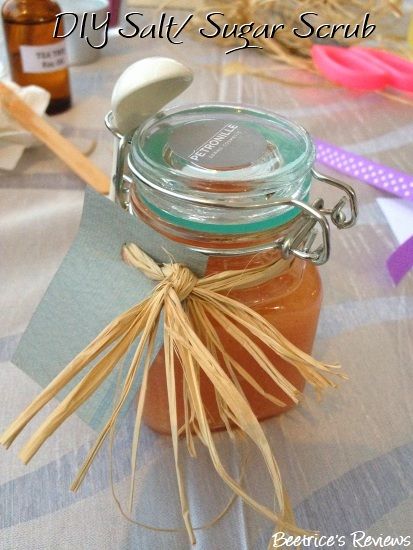
Ta-daah! :D

I’m now wondering if I can attempt to do these with body oils and sea salt…since a lot of the body oils are already deliciously scented – I reckon it would be a good use for the oils that I found too rich or thick for my liking. Any ideas? :D

Labels: , , ,

Thursday, 12 April 2012

Fun Dupe for the Ciate Caviar Manicure…

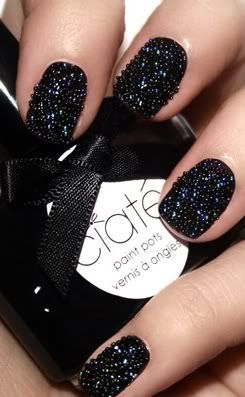
Remember I wrote about the Ciate Caviar manicure about 2 weeks ago? Well, after seeing some shots of it in action (you can read the Brit Blogger’s review here) I was hankering to try it, but after seeing the GBP18 price tag (approximately SGD$36 or RM90!) and knowing it would take a long time to make it to Asia (if at all) I gave up on wanting to get them – it's not something I’d spend THAT much on just for novelty’s sake!

I couldn’t quite get past wanting to try it though, so when some sites suggested it could be duped using ordinary nail polish and microbeads, I decided to give it a try.

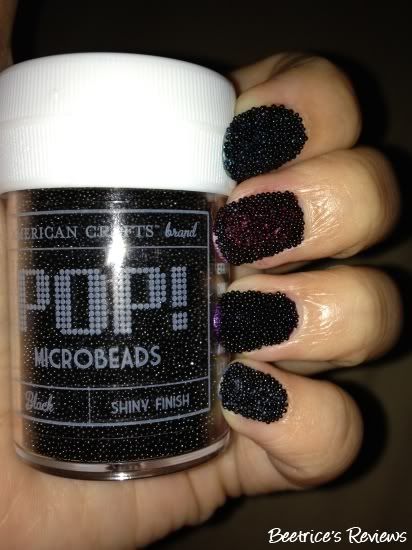
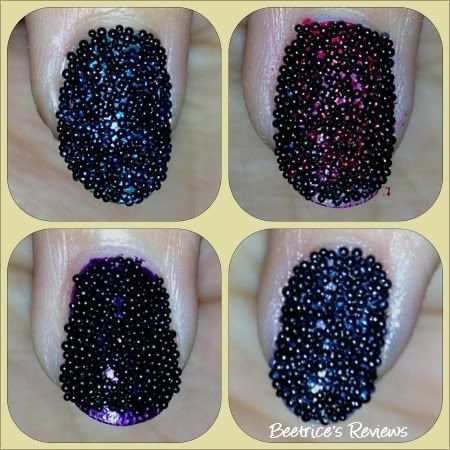
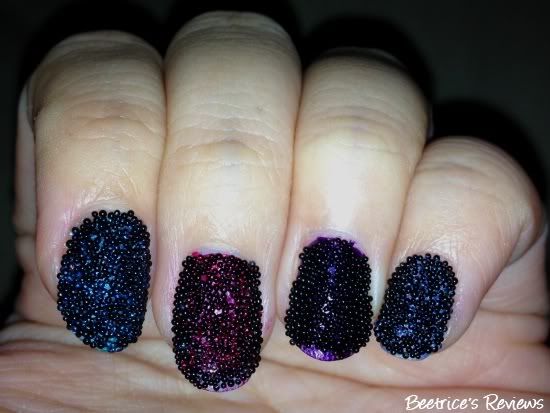
Ta-daahh!! Hehe…looks quite convincing, no? At least, I think so… :P

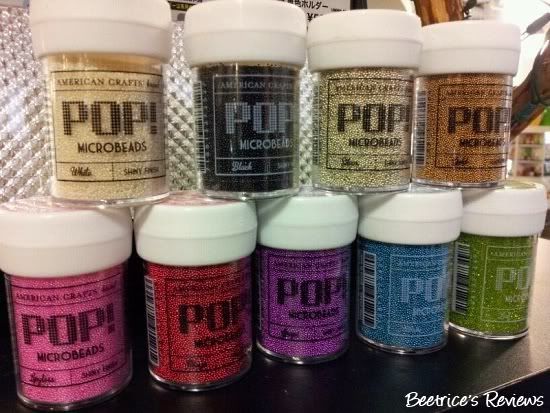
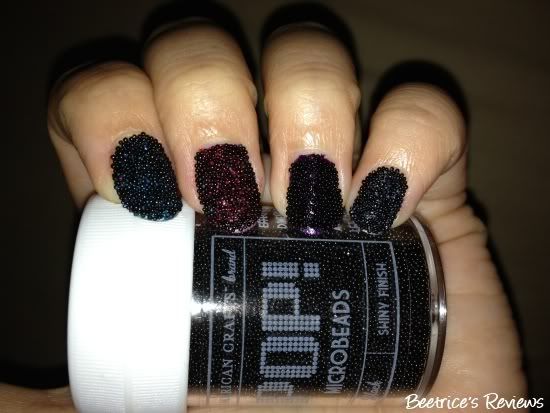
I used POP! shiny finish microbeads from American Crafts (pic above is courtesy of Rinnah who found the motherload!) which can be found at any well-stocked craft store – they come in a variety of colours as you can see above, but I stuck with black since it felt like the easiest to work with.

Getting them on was simple enough – start off with your regular base coat and two coats of your choice colour of nail polish. In my case, I was trying different shades to see the effect, hence ended up with green, red, purple and blue from my index to pinkie. :D

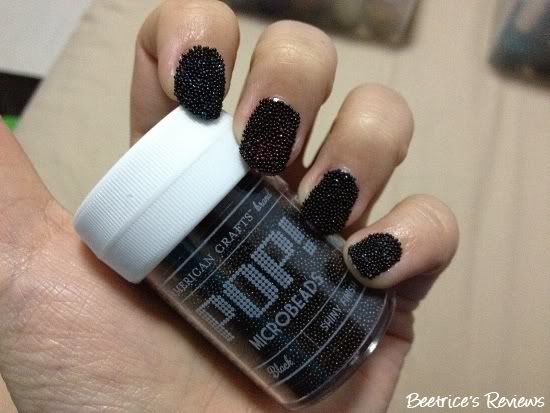
After this was the bead-sprinkling bit, which I cheated on. It was a bit difficult to get them to stick onto the polish even working one nail at a time, so I tried a few methods and found one that works. Apologies for the poor photo quality, it's not easy trying to manoeuvre a camera with wet nails...*grimace* 

If you’re interested in trying it, this is what worked for me:
  • First, apply base coat and two moderate coats of coloured nail polish on your nails. I recommend using bright, shimmery colours as this will stand out more compared to sedate ones. Let dry for about a minute.
  • Next, working one nail at a time apply a coat of Seche Vite to your nail, wait 5 seconds and then dunk your entire nail into the bottle of microbeads. This is a lot easier than sprinkling them onto a dish and having to clean up afterwards!
  • Once the beads have stuck to your nail, gently (and quickly!) brush off the excess and press the beads into your nail. Don’t worry if they roll around a bit as this will help it adhere faster, plus your beads may just get coated in some of the coloured nail polish for an added effect like what happened in my case. Do make sure you coat them all the way to the tip though, mine looked a bit bare at the tips because I didn’t get to them fast enough!
  • Repeat with the rest of your nails, then sit back and let them dry. Because I used Seche Vite, my nails dried in less than 15 minutes and were sturdy enough to last an evening without dropping off.
  • PS: If you want to try the original way, the instructions are in my previous post on the Caviar Manicure here.


Did I like them? Yes. They’re unusual enough to try for a fun night out, and definitely something different. To get the multi-colour bead effect, you can always buy a couple of colours and mix the beads but since this was just a trial run, I stuck to rolling the beads around in the polish to get the colour to shine through.

A point to note though, is that removing the caviar manicure or microbeads can be a pain but I found a way around that too (all for the sake of being thorough!) and people with itchy fingers will love this.

If you try to use nail polish remover directly on the beads, be warned that the colour will leech from the beads onto your nails and skin – in this case, it’ll turn them a dirty black. So save your skin, and instead pick off the beads first. Once you’ve picked off a small area, it’s easy (not to mention a bit addictive) to pick off the rest. And after you’re done with the beads (please do it over a container or dustbin, you don’t want them going everywhere!), you can use nail polish remover for the base polish as per normal. Easy peasy!

And there you have it, a dupe for the Ciate Caviar Manicure. Anyone else want to give this a go? *wink*

Labels: , , , , ,