
Scrub a dub dub, DIY style!
Happy Friday! Keeping in line with the feel of the day (everyone’s ready to kick back and enjoy the weekend!), I thought I’d feature something fun you can do over the weekend if you like. :)
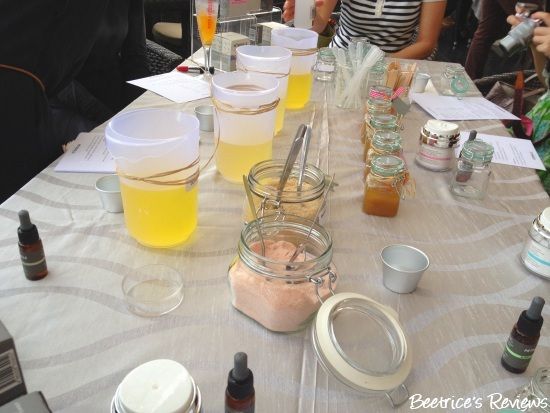
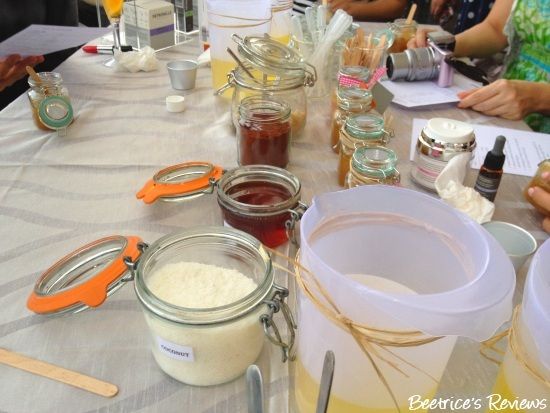
A few months back, I had visited a Petronille booth at one of the Bellabox events, and one of the activities they had prepared for us was making your own salt or sugar scrub. It was a simple but fun activity, but also a nice way to make your own scrubs if you want to know exactly what’s in it or want a custom blend for your personal use or to give as gifts.
For approximately 40g of scrub, you’ll need the following:
- Salt/ Sugar – 1 ½ cup
- Oil – 1 cup
- Honey, coconut or cocoa powder (optional) – 1 tsp
- Pure essential oil – 3-4 drops
- Glass jar
- Rubbing alcohol (to disinfect the jar)
- Mixing spoon
There were a variety of options available for mixing, but really, the combinations are almost limitless depending on your skin type and preference for scents:
- If you want a stronger scrub, try Himalayan salt. For those with more sensitive skin, you may want to opt for brown sugar.
- You can choose between any non-scented or mildly-scented oil for this – at the time, the option was sweet almond oil or olive oil so I picked sweet almond.
- In order to make the scrub more moisturising, you can opt to include a teaspoon of honey, coconut or cocoa powder although this is optional.
- You can use any pure essential oil to scent your scrub – lavender for relaxing, tea tree for anti-bacterial, ginger to boost circulation…the list goes on and on!
The steps to making your own scrub are easy enough…if a noob like me can make it, anyone can! :D
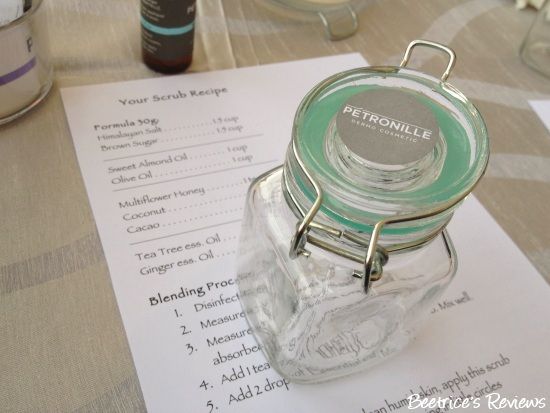
1. Disinfect the glass jar with alcohol (important, as this will minimise the chances of your scrub going mouldy - the ingredients are natural after all, with no added preservatives)
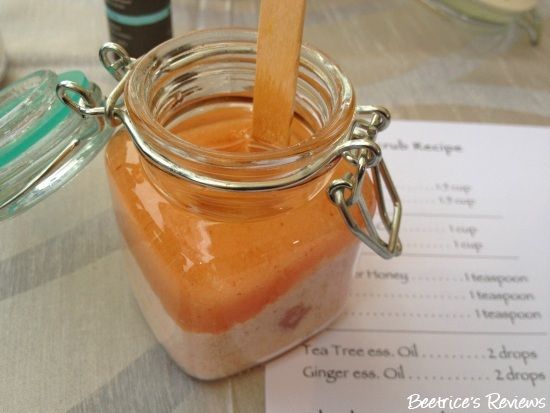
2. Measure and pour in your salt or sugar into the bottom, then pour in your choice of oil on top. Please don’t do it the other way around, as you’ll have a problem trying to stir the grains into the oil and you'll get salt/ sugar everywhere (trust me on this, we saw this happen) Stir well to mix.
3. Once you have a nice blend of salt/sugar and oil, add in your honey (optional) and mix well. You should end up with a nice paste at the bottom while still having a layer of oil on top.

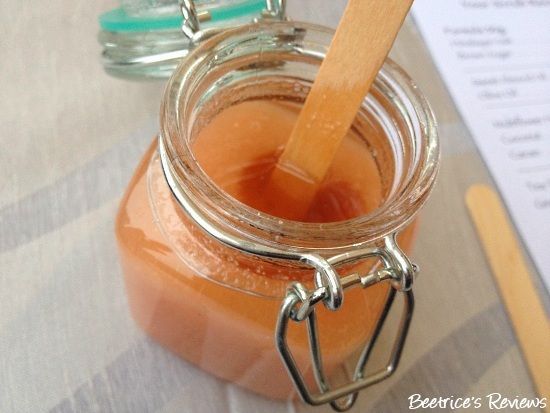
4. Last but not least, add 4-5 drops of pure essential oil to your scrub, and you’re done! Easy peasy, right? Depending on the essential oil you use though, your scrub may be stronger or milder smelling - just add a few more or less drops depending on your preference.
At this point, everyone was going “Does mine smell nice? Is it strong enough? Maybe I should add more essential oil…”
If you’re giving them away as gifts, don’t forget to tie a pretty ribbon around the jar (or in my case, strands of straw rope – since I’m kooky that way!), make a pretty tag and stick a small spoon for scooping out your scrub. These scrubs will last you a good 2-3 months, but I wouldn’t suggest keeping it beyond that…just in case!
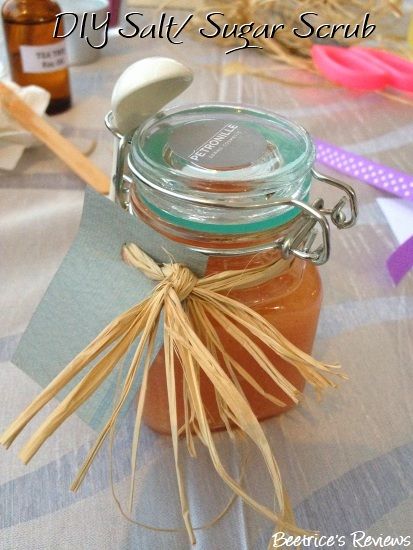
Ta-daah! :D
I’m now wondering if I can attempt to do these with body oils and sea salt…since a lot of the body oils are already deliciously scented – I reckon it would be a good use for the oils that I found too rich or thick for my liking. Any ideas? :D
Labels: bellabox, DIY, petronille, scrub
posted by beetrice @ 9:00 am
4 Comments
![]()


4 Comments:
So cute! The end result looks store-bought.
Nice tip about pouring sugar/salt first before oil. I would have totally been that girl cursing at my glass jar.
awww this is very cute and nice as gift too! I haven't really done any DIY scrub dub dub! :)
peach: Thanks! On the oil part, there were a couple of ladies who were doing exactly that - quite funny to watch! :P
askmewhats: I think I might give this a try this year if I can find the proper jars! :) Why don't you make it a weekend project? Hehe..
You have some great tips and since I love DIY myself. I'm going to try this out. Love your blog :)
Post a Comment
Subscribe to Post Comments [Atom]
<< Home